Setting Up Your Home Studio for Ukulele Recording
Understanding Your Recording Needs for Ukulele
Before diving into the setup process, it's crucial to identify your recording needs. Are you planning to capture solo ukulele performances, or do you want to layer multiple tracks? Understanding your goals will help determine the equipment and space you need.
Music can change the world because it can change people.
Consider the type of sound you want to achieve. If you're aiming for a clean, professional sound, you might need higher-quality microphones and audio interfaces. Conversely, if you prefer a more raw, acoustic feel, simpler equipment may suffice.
Take some time to listen to your favorite ukulele recordings and analyze what you like about them. This will guide your decisions as you set up your home studio and ensure you create a space that aligns with your artistic vision.
Choosing the Right Location for Your Home Studio
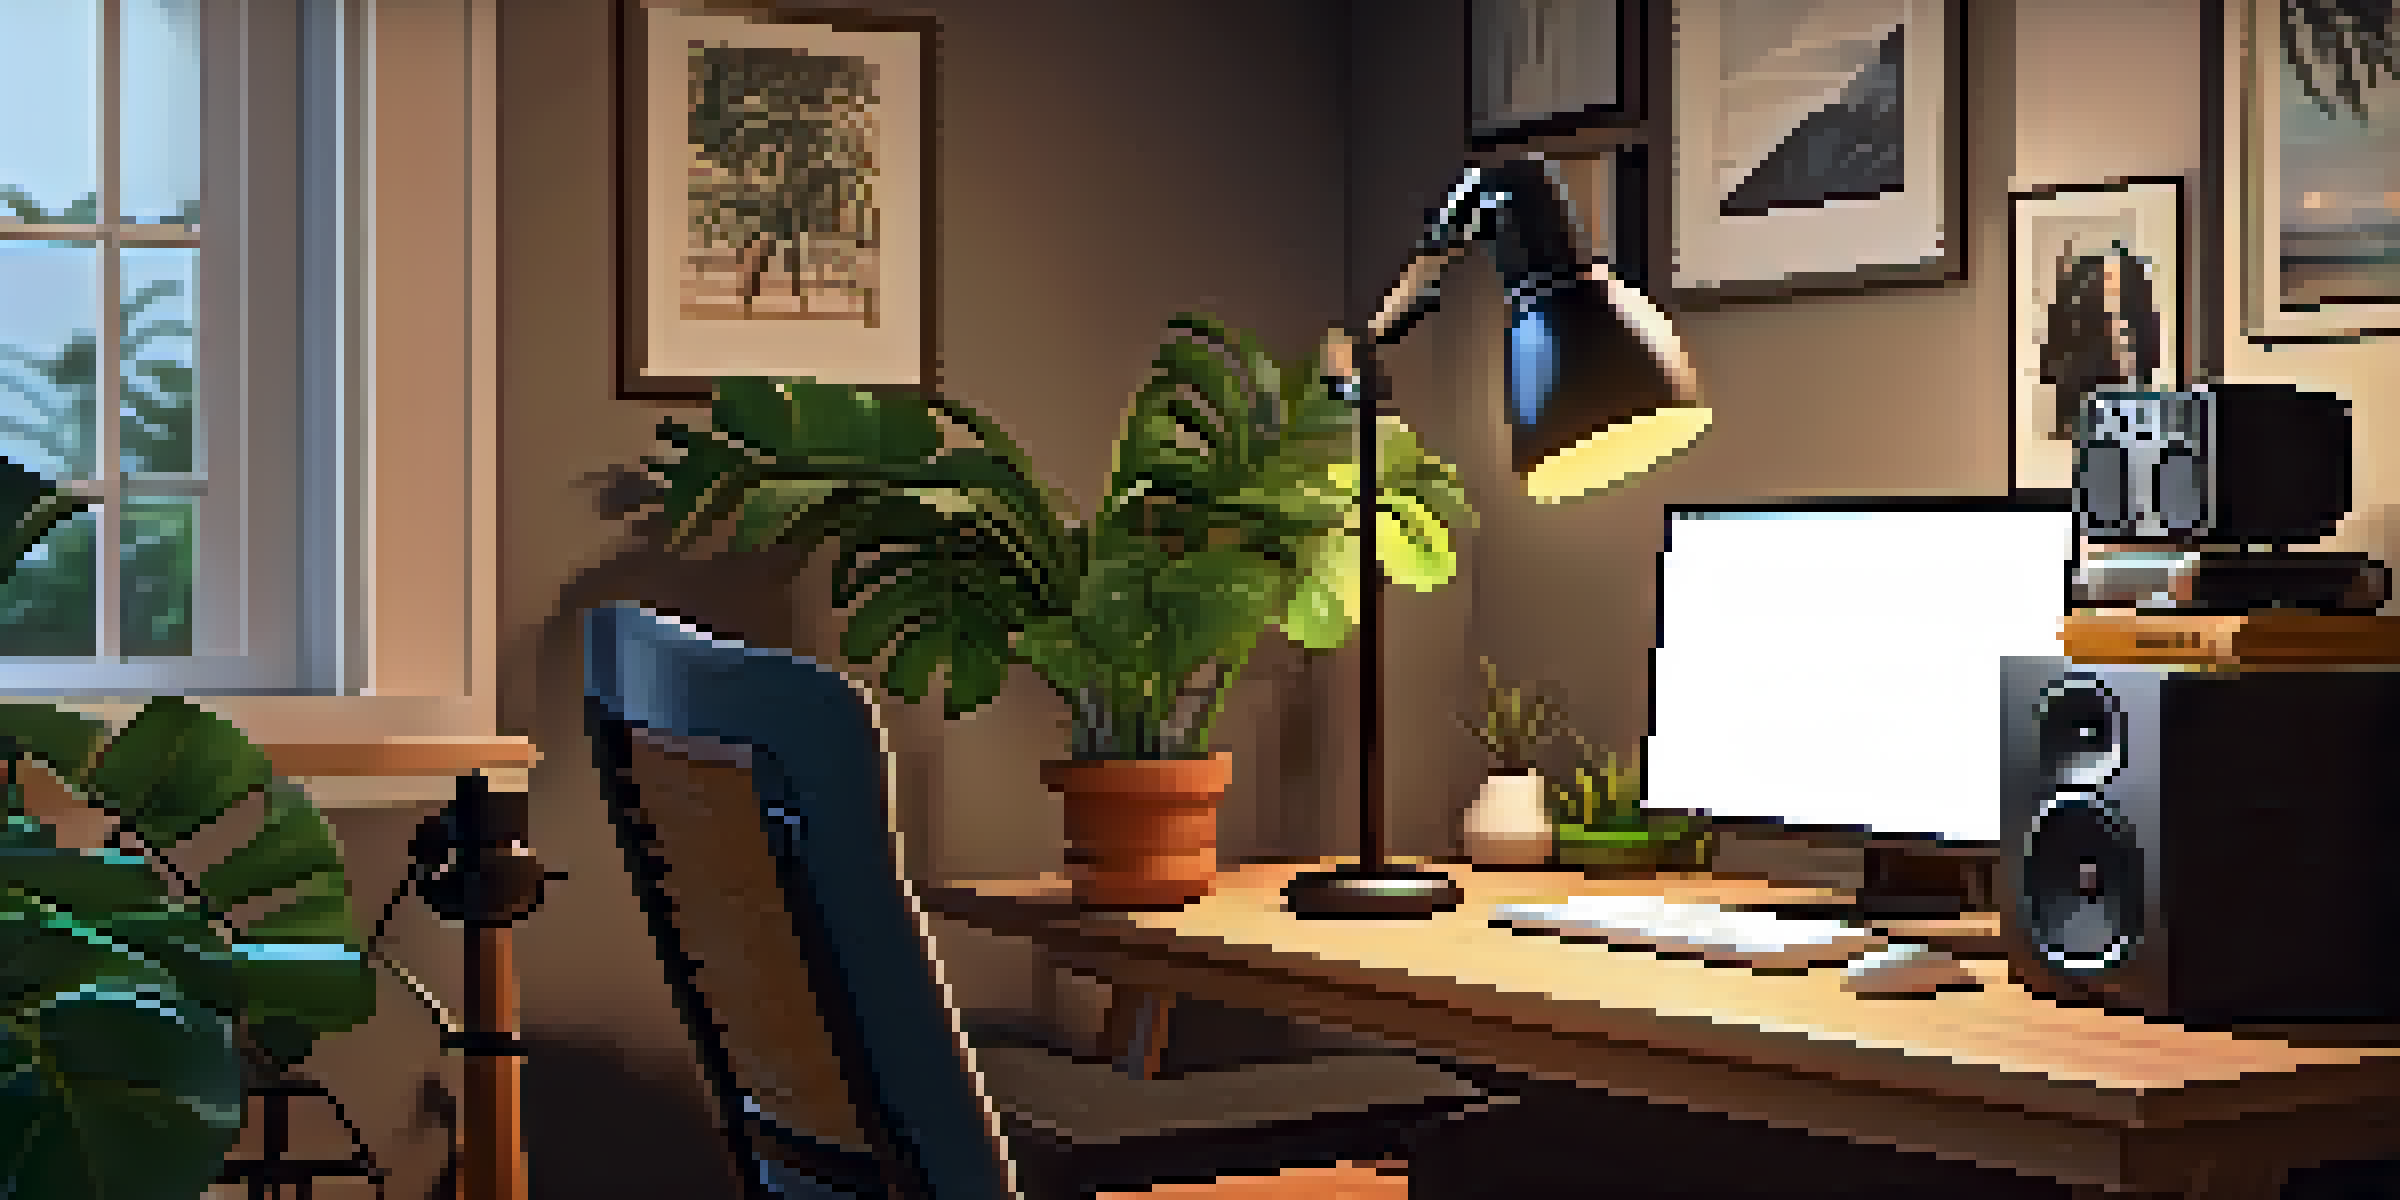
Location can make a world of difference in your recording quality. Ideally, you'll want a quiet space, away from outside noise and distractions, allowing you to focus on your music. A spare room, basement, or even a well-insulated closet can work well.
Consider the acoustics of the room. Hard surfaces can create unwanted echoes, while soft furnishings can help absorb sound. You might want to experiment with different locations in your home to find the spot that provides the best sound.
Identify Your Recording Needs
Understanding whether you want solo performances or layered tracks will guide your equipment and setup choices.
Additionally, think about lighting and comfort. An inspiring environment can boost your creativity, so choose a location that feels welcoming and motivating. A comfortable chair, good lighting, and a clean workspace can enhance your recording experience.
Essential Equipment for Ukulele Recording
To get started with recording, you'll need some essential equipment. A quality microphone is a must; condenser mics are popular choices for capturing the bright tones of the ukulele. USB microphones are also convenient for beginners, as they connect directly to your computer.
The best music is essentially there to provide you something to face the world with.
An audio interface is another important piece of gear. It acts as a bridge between your microphone and your computer, providing better sound quality than a standard computer input. Look for interfaces that have multiple inputs if you plan to record additional instruments or vocals.
Don't forget about headphones! A good pair of closed-back headphones will help you monitor your recordings without any sound leakage. This is crucial, especially if you're layering tracks or recording alongside a click track.
Setting Up Your Recording Software
Choosing the right recording software, often referred to as a Digital Audio Workstation (DAW), is essential for your home studio. Popular options include GarageBand for Mac users, and Audacity or Reaper for those on Windows. Each has its unique features, so pick one that aligns with your needs.
Once you've installed your DAW, take some time to familiarize yourself with its interface and features. Most software offers tutorials to help you get started. Understanding how to navigate your DAW will make the recording process smoother and more enjoyable.
Choose the Right Studio Location
A quiet, acoustically treated space is essential for capturing high-quality ukulele recordings.
Don't forget to set up your audio preferences within the software. Ensure that your audio interface is selected as the input and output device, so you can hear your recordings play back through your headphones or speakers.
Acoustic Treatment for Better Sound Quality
Acoustic treatment can significantly enhance the sound quality of your recordings. To minimize unwanted reflections and background noise, consider adding some sound-absorbing materials to your space. This can include foam panels, carpets, or even heavy curtains.
If you're on a budget, DIY solutions can work wonders too. For example, hanging blankets on walls can help reduce echoes and improve acoustics. Experiment with different placements to find what works best for your unique space.
Remember, the goal is to create a controlled environment where your ukulele can shine. With a bit of trial and error, you can find the right balance between sound absorption and reflection to achieve the perfect recording conditions.
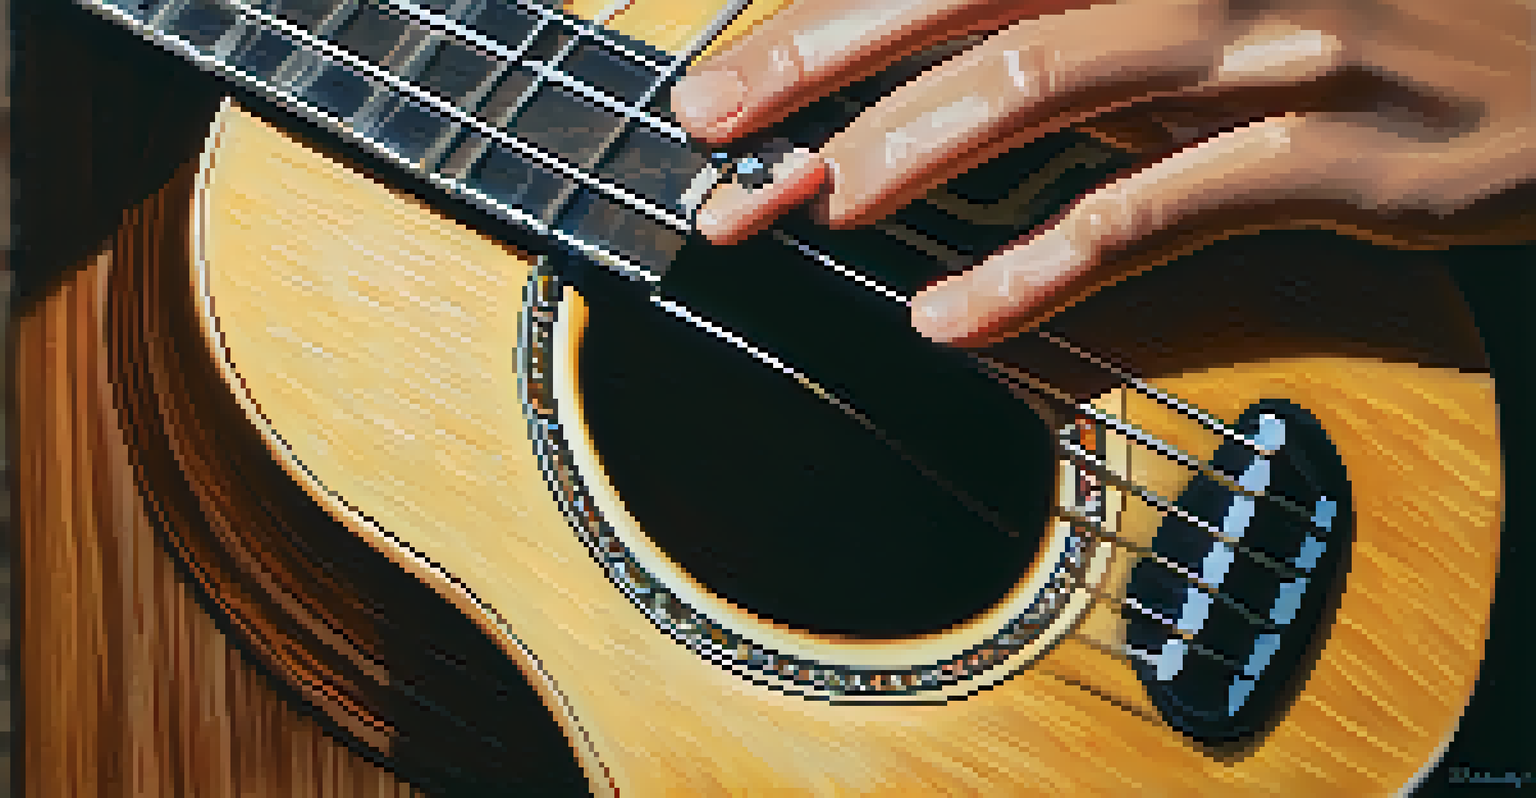
Positioning Your Ukulele and Microphone
Proper positioning of both your ukulele and microphone is key to capturing the best sound. Start by placing the microphone about 6-12 inches from the ukulele, aimed towards the sound hole. This distance helps to capture a balanced tone without overwhelming the mic.
Experiment with different angles and distances to find the sweet spot for your specific instrument. Remember, each ukulele has its unique sound, so what works for one may not work for another. Don’t hesitate to tweak your setup until it feels just right.
Master Your Recording Software
Familiarizing yourself with your DAW ensures a smoother recording process and helps you achieve professional results.
Once you find the ideal positioning, consider marking the spot so you can easily replicate it in future sessions. Consistency in mic placement can lead to a more polished sound across your recordings.
Recording and Mixing Your Ukulele Tracks
When you're ready to record, take a moment to do a sound check. Play a few chords and adjust the input levels in your DAW to ensure they peak without clipping. This step is crucial, as it sets the foundation for a clean recording.
After recording, the mixing process allows you to enhance your tracks further. Use EQ to adjust frequencies and ensure your ukulele sits well in the mix. Adding reverb can create a sense of space and depth, making your recordings more polished and professional.

Don't be afraid to experiment with different effects and mixing techniques. Mixing is both an art and a science, so trust your ears and let your creativity guide you. Over time, you'll develop your unique sound and style.