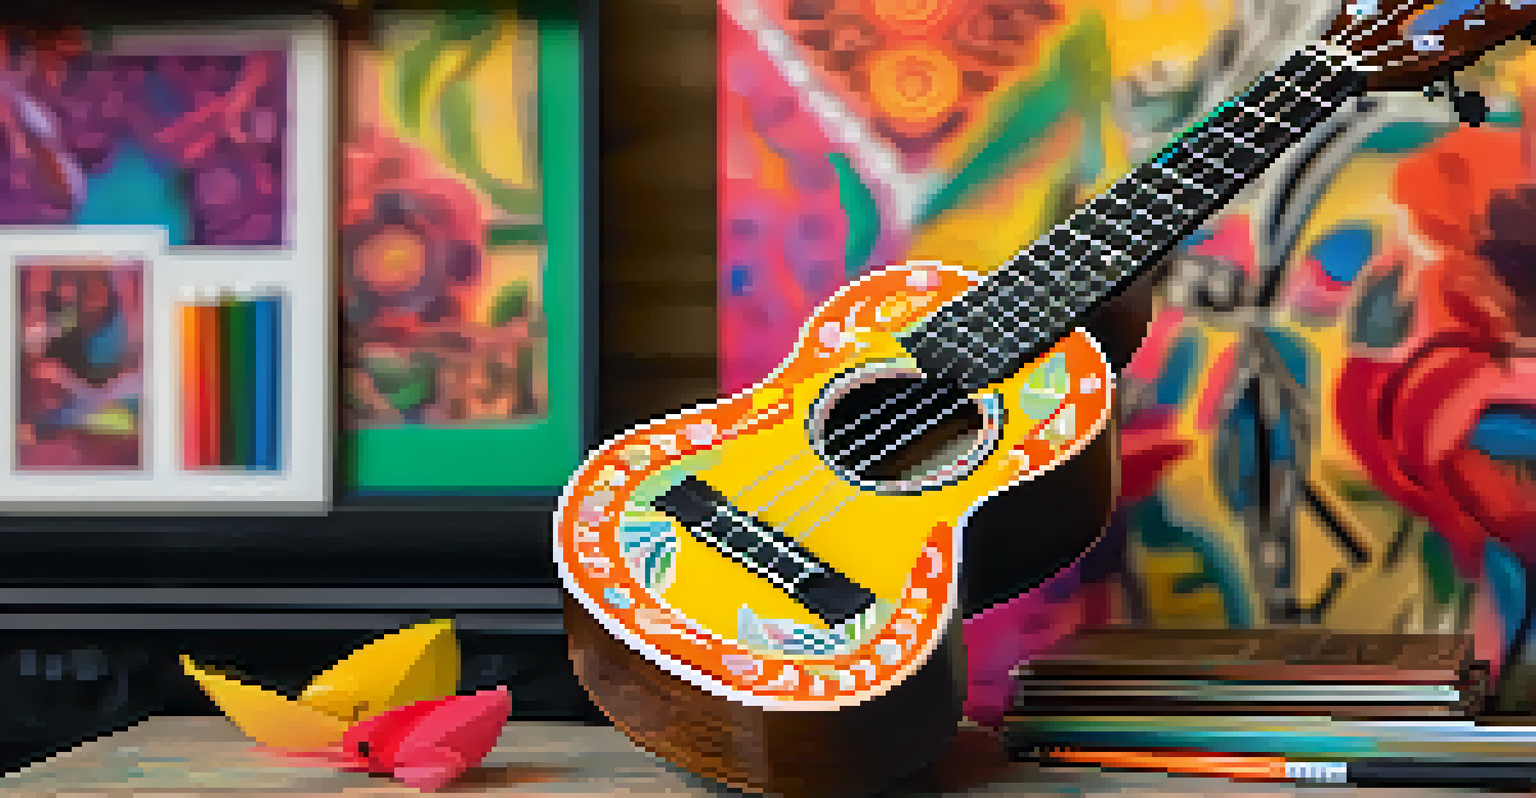
Painting Your Ukulele: Techniques for Custom Designs

Choosing the Right Type of Paint for Your Ukulele
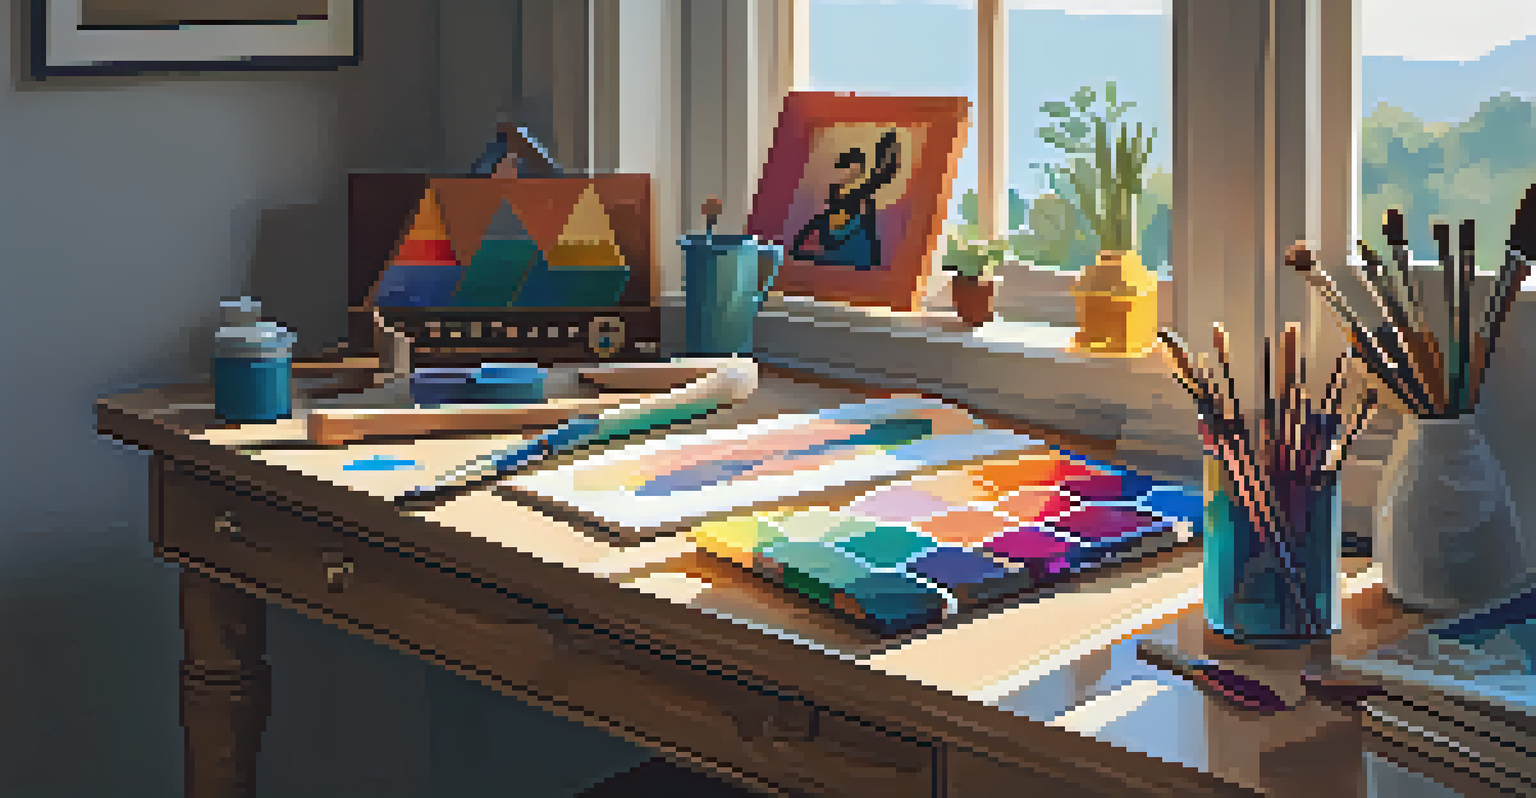
When it comes to painting your ukulele, selecting the right type of paint is essential. Acrylic paint is a popular choice due to its quick-drying properties and vibrant colors. However, for a more durable finish, consider using spray paint specifically designed for wood surfaces.
Creativity takes courage.
It's important to avoid oil-based paints, as they can damage the wood and affect the sound quality of your instrument. Additionally, ensure that the paint you choose is non-toxic, especially if you plan to handle your ukulele frequently.
If you're new to painting, testing your chosen paint on a scrap piece of wood can help you understand how it adheres and dries, allowing for a more confident approach to your ukulele design.
Preparing Your Ukulele for Painting
Preparation is key to achieving a smooth and professional-looking finish on your ukulele. Start by removing the strings and any hardware, such as the bridge and tuners, to avoid any accidental paint splatters. This will also help you access every inch of the surface.
Next, gently sand the ukulele body with fine-grit sandpaper to create a smooth surface for the paint to adhere. This step is crucial as it helps eliminate any imperfections and improves the overall finish.
Choose the Right Paint Type
Selecting acrylic or wood-specific spray paints ensures a vibrant and durable finish for your ukulele.
Once sanded, wipe down the instrument with a clean, damp cloth to remove dust and debris. Allow it to dry completely before you start painting, ensuring the best possible results.
Applying a Base Coat for a Smooth Finish
A base coat is crucial for achieving a vibrant and uniform color on your ukulele. Using a paintbrush or spray paint, apply a thin layer of your chosen base color to the entire surface. This acts as a foundation for your design, helping to enhance the colors you apply later.
Art is not freedom from discipline, but disciplined freedom.
Make sure to work in thin, even layers, allowing each coat to dry before adding another. This will prevent drips and ensure a smoother finish. A good rule of thumb is to apply at least two to three coats of the base color for optimal coverage.
Once you're satisfied with the base coat, give it time to cure fully before moving on to your custom designs. This ensures that your artwork will adhere properly and last longer.
Exploring Different Painting Techniques
Now comes the fun part: applying your custom designs! There are countless techniques you can explore, such as stenciling, freehand painting, or even using sponge techniques for a textured look. Each method offers a unique way to express your personality on your ukulele.
For instance, stenciling allows for precise shapes and patterns, while freehand painting lets your creativity run wild. You might even consider using painter's tape to create geometric designs or clean lines, adding an extra layer of sophistication.
Prepare Before You Paint
Thoroughly clean, sand, and remove hardware from your ukulele to achieve a smooth and professional-looking paint job.
Don't be afraid to mix different techniques; combining stenciling with freehand elements can create a truly one-of-a-kind design that reflects your style.
Adding Detail with Brushes and Markers
To elevate your ukulele's design, consider adding intricate details with brushes or permanent markers. Fine-tipped brushes are perfect for creating delicate lines or small designs that can complement your larger artwork.
Markers can also be a great tool for adding outlines or text. Just make sure they are suitable for use on wood surfaces and won't bleed into the paint underneath.
Adding these details can enhance the overall look and feel of your ukulele, making it a true reflection of your artistic vision.
Protecting Your Artwork with a Clear Coat
Once you're happy with your design, it's time to protect your artwork with a clear coat. This step is essential for ensuring the longevity of your paint job and safeguarding against scratches or chips. A clear acrylic spray or brush-on finish can create a durable barrier.
Apply the clear coat in thin, even layers, allowing it to dry completely between coats. This not only enhances the colors but also gives your ukulele a professional, polished appearance.
Protect Your Artwork
Applying a clear coat after painting safeguards your design and enhances the longevity of your ukulele's appearance.
Remember, a well-protected ukulele will maintain its beauty and vibrancy for years to come, so don't skip this vital step!
Reassembling Your Ukulele and Final Touches
Now that your painting is complete and dried, it's time to reassemble your ukulele. Carefully replace the bridge and tuners, ensuring everything is securely in place without damaging your new artwork. This step can be a bit tricky, so take your time to avoid any mishaps.
Once reassembled, restring your ukulele with fresh strings. This not only enhances the sound but also complements the fresh look of your instrument. Remember to tune it up and give it a good strum to hear how it sounds with your custom design.
Finally, take a moment to admire your work! You've transformed your ukulele into a personalized piece of art, ready to play and show off.