Step-by-Step Guide to Constructing a Ukulele Body
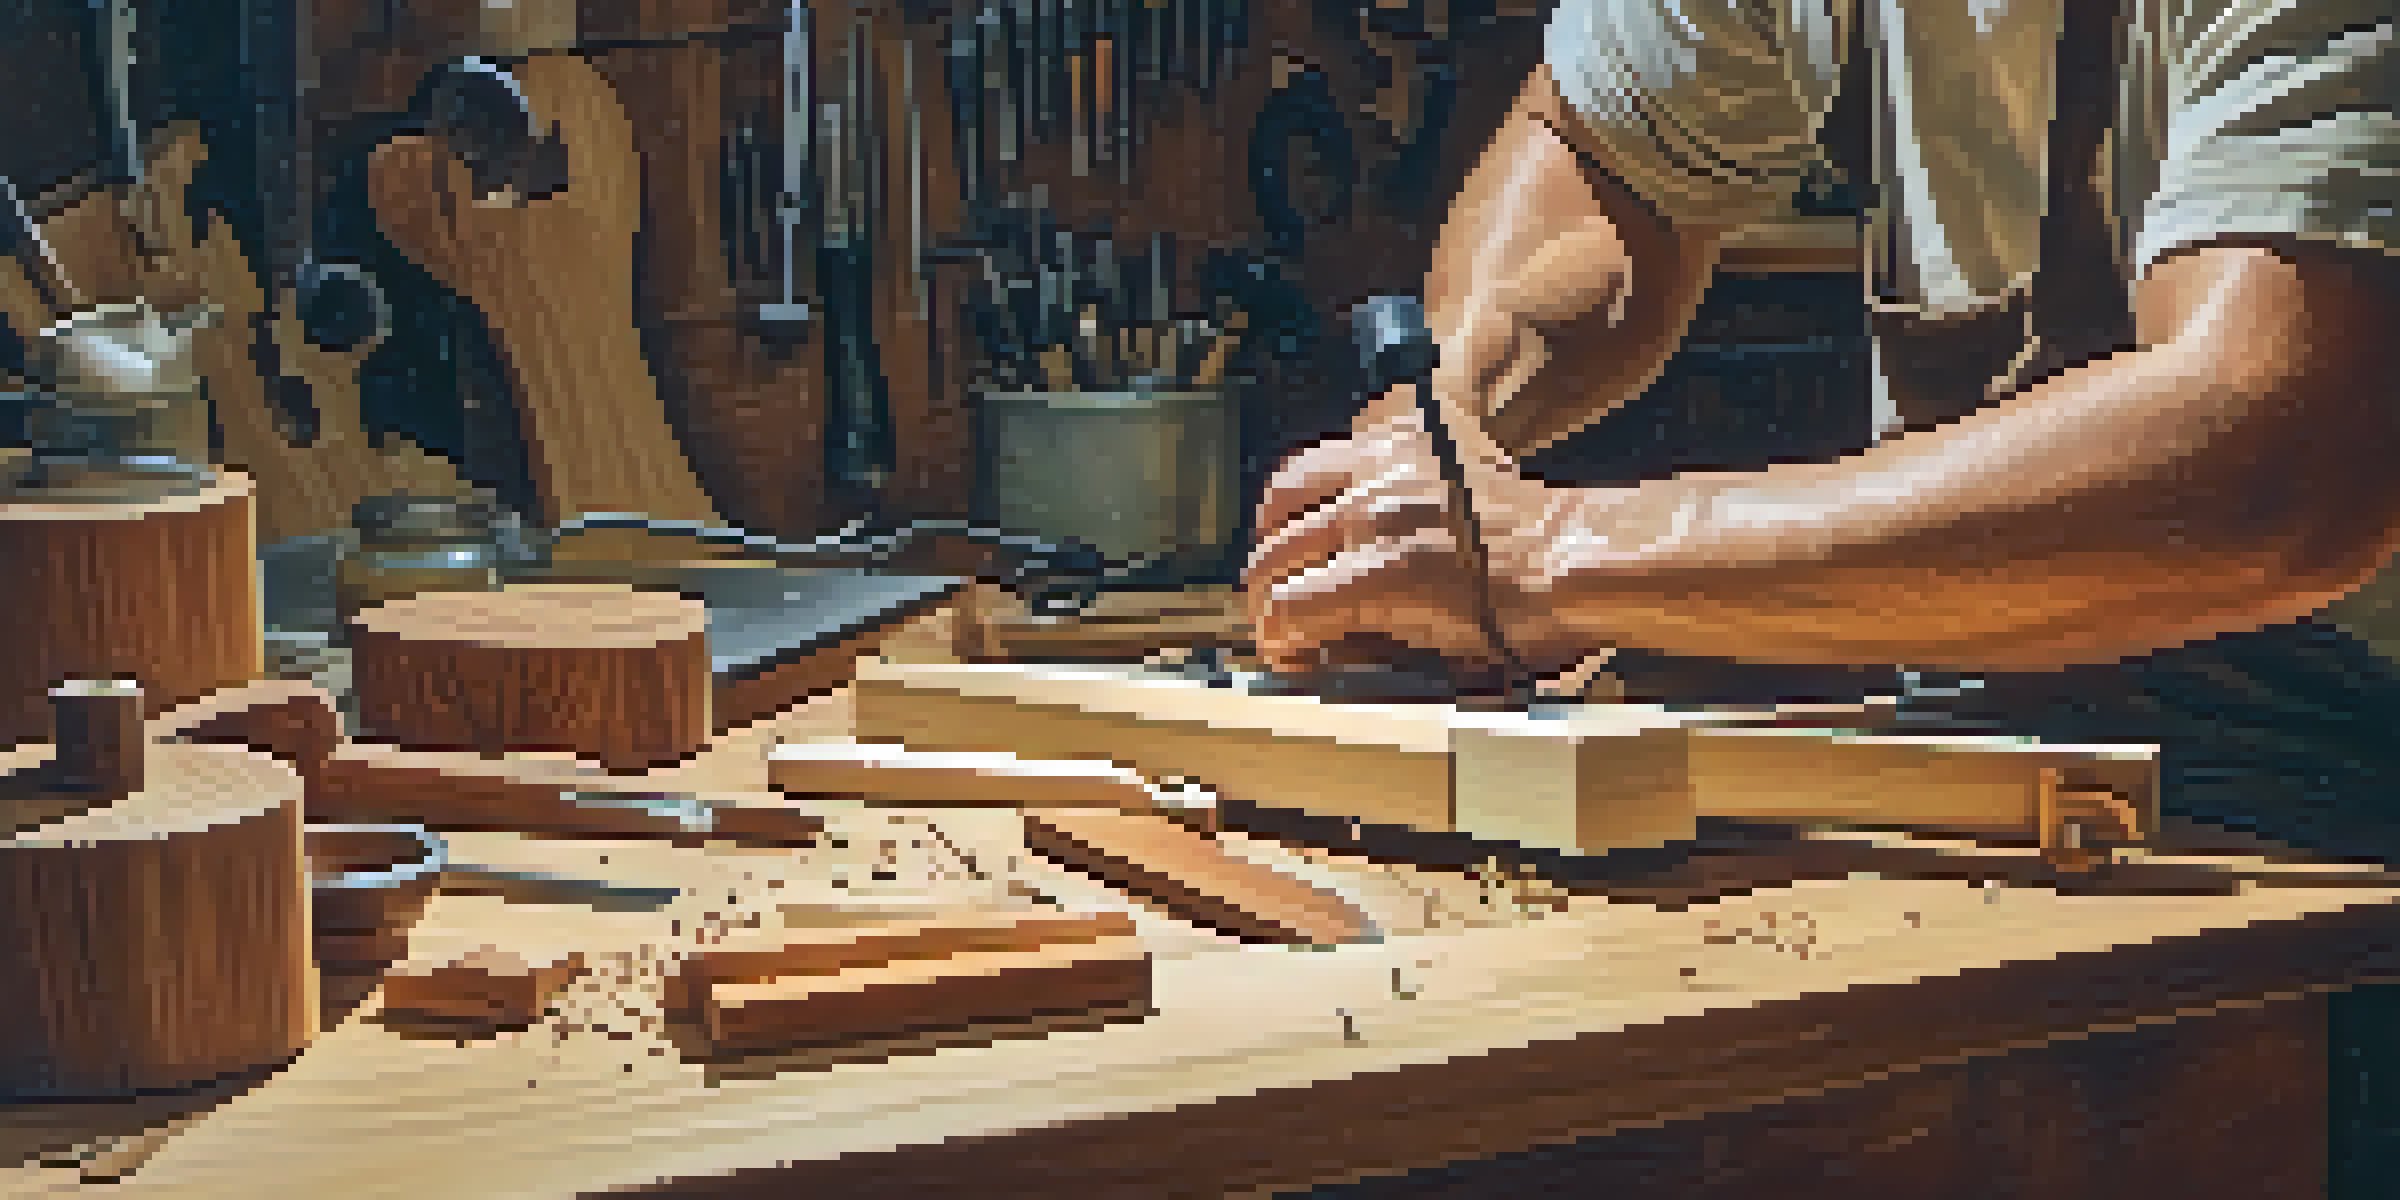
Gathering Materials for Your Ukulele Project
Before diving into construction, you need to gather the right materials. Common woods for ukulele bodies include mahogany, koa, and spruce, each offering unique sound qualities. You'll also need tools like a saw, clamps, and glue to ensure a smooth building process.
The beautiful thing about learning is that no one can take it away from you.
Additionally, consider the finishing materials, such as wood stain or lacquer, to give your ukulele a polished look. Don’t forget to stock up on sandpaper for smoothing the edges. Having everything ready before you start will save you time and frustration later on.
Lastly, don’t be afraid to ask for advice from experienced builders or consult online forums. The ukulele community is welcoming and eager to help newcomers, making it easier to get started.
Designing Your Ukulele Body Shape
Choosing the shape of your ukulele body is crucial for both aesthetics and sound. Traditional shapes include the concert, soprano, and tenor ukulele, each varying in size and tone. Sketching your design on paper can help visualize the final product.

Think about how the curves and contours will affect the sound projection. A rounded body shape may produce a warmer tone, while a more angled design can contribute to brighter sound. Play around with proportions to find what resonates with you.
Gather Essential Ukulele Materials
Collecting the right woods, tools, and finishing materials is crucial for a smooth ukulele building process.
Remember, the design is not just functional but also a chance for personal expression. Whether you want a sleek modern look or a classic vintage vibe, your ukulele should reflect your style.
Cutting the Wood for Your Ukulele Body
With your design in hand, it’s time to cut the wood pieces for the body. Use a jigsaw or bandsaw for precision, ensuring each piece matches your design. Take your time with this step, as clean cuts are essential for a snug fit.
The only way to do great work is to love what you do.
After cutting, you’ll want to sand the edges to remove any splinters and ensure a smooth surface. This not only aids in assembly but also improves the overall look of your ukulele. A good finish starts with attention to detail in the cutting phase.
Moreover, consider making a test cut on scrap wood first. This practice helps avoid mistakes on your final pieces and gives you a better feel for the tools. It’s all about creating a solid foundation for your instrument.
Assembling the Ukulele Body Parts
Now that you have all your pieces cut, it’s time to assemble them. Start by gluing the sides to the back, ensuring everything is aligned correctly. Clamps are your best friends here, holding the pieces together while the glue dries.
Next, attach the top piece, making sure to leave space for the soundhole. The soundhole is crucial for sound projection, so consider its size and placement carefully. It’s the heart of your ukulele’s voice.
Design Influences Sound Quality
The shape and contours of your ukulele body significantly affect both its aesthetics and sound projection.
Double-check all connections before the glue sets to ensure a tight seal. Any gaps could lead to unwanted vibrations or a less-than-perfect sound. Patience is key in this step, as rushing can lead to mistakes.
Creating the Soundhole and Bracing
Once the body is assembled, it’s time to create the soundhole. Using a hole saw, carefully cut the hole in the top piece of your ukulele. This step is vital for allowing sound to resonate from the body of the instrument.
In addition to the soundhole, adding braces inside the body helps support the structure and enhance sound quality. These small wooden pieces distribute the tension from the strings and can significantly affect the tone. Position them strategically for the best results.
Remember, the soundhole and bracing are crucial to achieving the desired sound quality. Take your time to get them just right, as they play a pivotal role in your ukulele's performance.
Sanding and Finishing the Ukulele Body
With the basic structure complete, it’s time to sand the entire body for a smooth finish. Start with a coarser grit sandpaper and gradually move to finer grits. This process will help eliminate any imperfections and prepare the wood for finishing.
After sanding, you can choose to apply a wood stain or lacquer. This not only enhances the beauty of the wood but also adds a layer of protection. Make sure to follow the product instructions for the best results.
Final Steps Enhance Performance
Careful assembly, tuning, and finishing details ensure your handmade ukulele delivers the best sound and playability.
As you finish your ukulele, consider the final look you want to achieve. A well-finished body not only looks great but can also affect the sound. Your attention to detail here will shine through in both aesthetics and performance.
Final Assembly: Adding the Neck and Hardware
With the body ready, it’s time to attach the neck. Carefully align the neck with the body and secure it using wood glue or screws, depending on your design. This step is crucial, as the neck must be perfectly aligned for proper string tension and playability.
Next, install the hardware, including the bridge and tuning pegs. The bridge is where the strings will rest, and positioning it correctly will impact sound quality. Take your time ensuring everything is securely fitted.
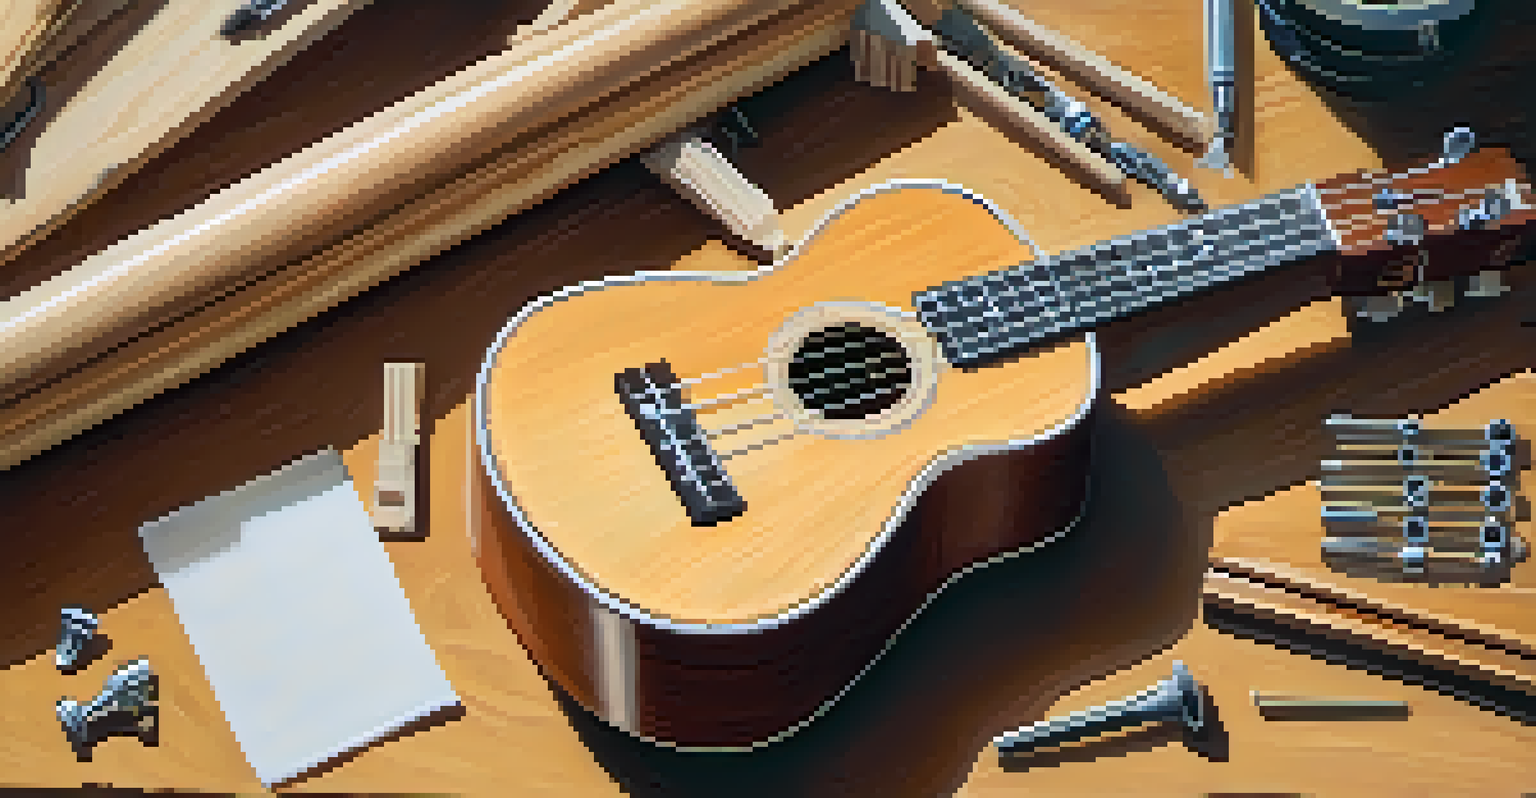
Finally, once everything is assembled, give your ukulele a final inspection. Check for any loose parts and test the tuning pegs to ensure they function smoothly. Your hard work is about to pay off as you prepare to bring your ukulele to life.
Tuning and Testing Your Completed Ukulele
Congratulations, your ukulele is finally assembled! Now comes one of the most exciting parts: tuning your instrument. Use an electronic tuner or a tuning app to get started, making sure each string is at the correct pitch.
After tuning, take a moment to play a few chords and notes. Listen carefully to the sound and make any adjustments if necessary. It’s normal for a new ukulele to require fine-tuning as the wood settles.
This is your chance to discover the unique voice of your handmade ukulele. Enjoy the fruits of your labor and remember that every strum is a reflection of your creativity and dedication to the craft!